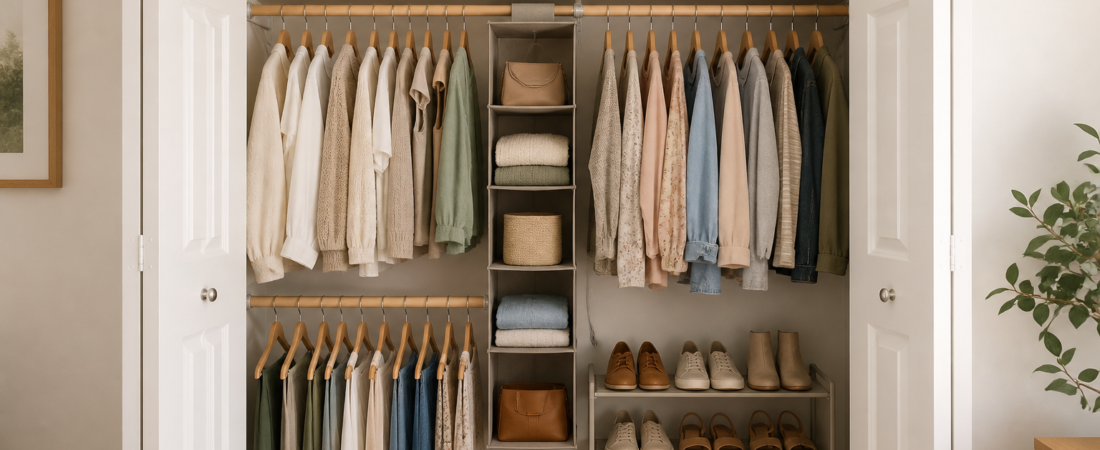
A small closet rarely needs a complete renovation to work better. Most problems come from wasted vertical space, unclear categories, and storage that does not match how often items are used. With a careful edit and a few reversible additions, even a basic rental closet can become easier to maintain.
Quick comparison: renter-friendly closet systems
| Organizer | Format | Best for | Consider |
|---|---|---|---|
| VIPEK X1 | Expandable rack | Adapting to closet width | Open industrial appearance |
| VIPEK V1 | 4-tier rack + rod | Heavy mixed storage | Fixed 35.4-inch width |
| Sakugi | Tall wheeled rack | Flexible room-to-room use | Needs vertical clearance |
| Amazon Basics organizer | Low shelves + fabric bins | Folded clothes and accessories | No hanging rod |
Begin with the closet’s real job
Decide what the closet should contain. A bedroom closet may need to hold daily clothing, shoes, accessories, and a small amount of seasonal storage. It does not also need to become the home for paperwork, tools, luggage, gift wrap, and every sentimental object.
Write down the primary categories before emptying the closet. This makes it easier to relocate items that belong elsewhere.
Step 1: empty one section at a time
If removing everything feels overwhelming, work in sections: hanging clothes, upper shelf, floor, and accessories. Sort each section into keep, donate, repair, relocate, and seasonal storage.
Only keep clothing that fits, is in usable condition, and supports your current life. Place uncertain items in a dated box outside the closet. If you do not reach for them during the next season, reconsider keeping them.
Step 2: measure every useful dimension
Measure the closet’s width, depth, door opening, rod height, shelf height, and the clear space below hanging garments. Note hinges, baseboards, outlets, and sliding-door overlap.
Record the interior dimensions of drawers and shelves before purchasing organizers. Product packaging often displays exterior measurements, which may not reflect usable capacity.

VIPEK V1 Wire Garment Rack
Best for: heavy mixed storage in closets, bedrooms or laundry rooms
Advantages: four tiers, a hanging rod and a stated 500-pound maximum load.
Consider: its fixed 35.4-inch width must fit the available wall.
As an Amazon Associate I earn from qualifying purchases. Price, availability, and product details may change.
Step 3: group clothes by length
Hang dresses, coats, shirts, and pants in separate zones. Grouping garments by length reveals the empty space beneath shorter items. That area can hold a second rod, low drawers, or a shoe rack.
Keep frequently worn pieces closest to the easiest opening, especially in closets with sliding doors.
Step 4: add a removable second rod
A tension-mounted or hanging second rod can double space for shirts, skirts, and folded-over pants without construction. Leave one full-height section for dresses and longer coats.
Check the rod’s stated weight limit and distribute garments evenly. A second rod is most effective after excess clothing has been removed.
Step 5: divide the upper shelf
Wide shelf stacks tend to collapse into one another. Shelf dividers create lanes for sweaters, bags, linens, or small labeled bins. Keep light seasonal items at the top and avoid placing heavy objects where they are difficult to lift safely.
Use consistent container sizes when possible, but do not buy matching boxes merely for appearance. Visibility and comfortable access matter more.

Sakugi Clothes Rack with Shelves and Wheels
Best for: renters who may need to move the organizer
Advantages: a tall 33-inch-wide frame with shelves, hooks and casters.
Consider: confirm the 79.5-inch height clears the ceiling and trim.
As an Amazon Associate I earn from qualifying purchases. Price, availability, and product details may change.
Step 6: use the back of the door carefully
An over-door organizer can hold shoes, scarves, belts, jewelry, or small accessories. Hooks work well for tomorrow’s outfit, a robe, or an everyday bag.
Confirm that hardware clears the frame and does not interfere with closing. Adhesive bumpers can protect the door from movement.
Step 7: create a simple shoe limit
Keep current-season shoes in the easiest zone. Store special-occasion and off-season pairs in labeled boxes or another protected area. Low racks, clear boxes, or a narrow hanging organizer can work, depending on the available depth.
Allow shoes to dry before placing them in closed storage.
Step 8: give small accessories boundaries
Belts, scarves, jewelry, and bags disappear when they share one large bin. Use small hooks, drawer dividers, shallow trays, or labeled pouches. Store accessories close to the clothes they accompany so getting dressed requires fewer steps.

Amazon Basics Freestanding Closet Organizer
Best for: folded clothes, accessories and low closet zones
Advantages: three shelves, fabric bins and a compact 32.7-inch width.
Consider: it does not replace a hanging rail.
As an Amazon Associate I earn from qualifying purchases. Price, availability, and product details may change.
Step 9: improve visibility
A rechargeable motion-sensor light can make a deep or poorly lit closet easier to use without electrical work. Place it where hanging clothes will not block the beam. A small mirror on the inside of a hinged door may also reduce movement between rooms.
Step 10: maintain one open buffer
Leave a small section of rod, part of a shelf, or one drawer slightly underfilled. This buffer accommodates laundry day, a new purchase, or a temporary change without causing the entire system to overflow.
A renter-friendly organizer checklist
- Matching slim hangers.
- Removable second rod.
- Shelf dividers.
- Low shoe rack or stackable boxes.
- Over-door hooks or organizer.
- Small drawer dividers.
- Rechargeable light.
- Labels that can be removed cleanly.
What to avoid
Avoid buying organizers before editing your belongings, stacking containers too high to access safely, hiding daily items behind seasonal storage, and creating a “miscellaneous” bin. Also avoid overusing vacuum bags for garments that need structure or airflow.
A 10-minute weekly reset
- Return empty hangers to one end of the rod.
- Place shoes in their assigned zone.
- Remove dry-cleaning bags and unnecessary packaging.
- Move repair or donation items out of the closet.
- Refold one unstable stack.
Final thought
A small closet works when every category has a boundary and everyday items require the least effort. Edit first, measure second, and add only the reversible tools that support your routine. The result may not hold everything you own—but it can hold what you actually use with far less friction.
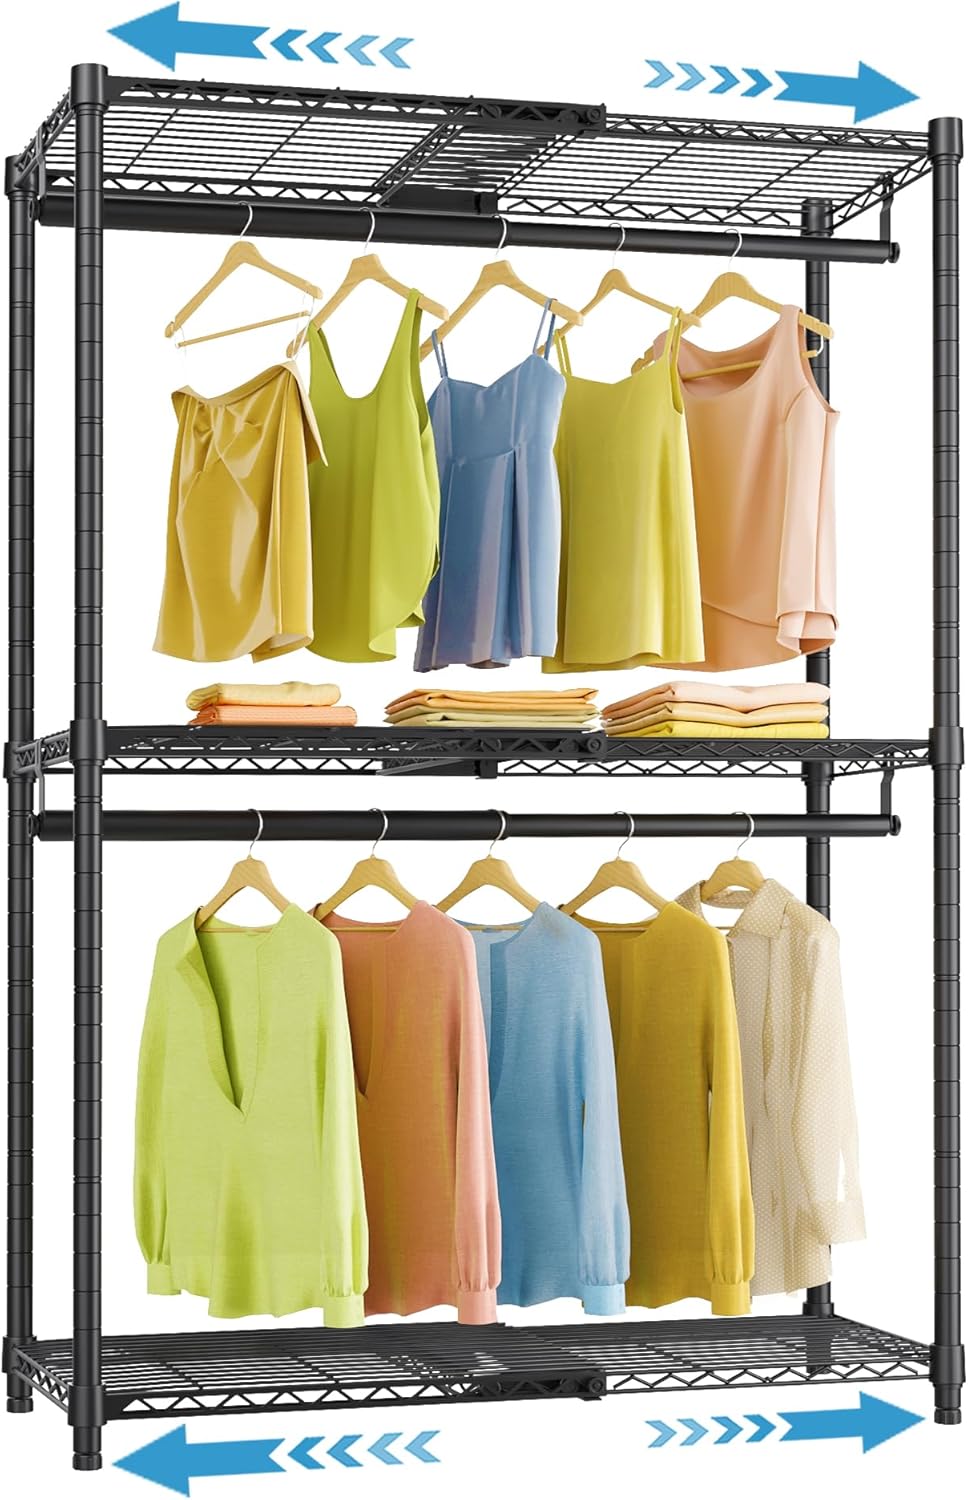
Recommended product: VIPEK X1 Expandable Closet System
Why it fits: creates adjustable hanging and shelf space without permanent built-ins.
As an Amazon Associate I earn from qualifying purchases. Price, availability, and product details may change.